If you want to know how to start a travel blog and make money from it, the order of work matters more than any single tool. Travelers who start later in life, or who plan trips for three generations at once, already hold the raw material: trips taken, logistics solved, and a clear idea of what a trip needs to work for people of different ages. The job is to turn that into a website that readers find through search and trust enough to act on.
This roadmap goes in the order I would build the site: focus first, then setup, then content, then income. A travel blog earns slowly, so the aim is a site that keeps working without a large upfront spend.
Why a travel blog suits travelers who are older or journeying as a family
A travel blog rewards what experienced travelers already have. You know how long a layover feels at 70, what a rental house needs when grandparents and grandchildren share it, and which museums have benches. Most travel sites skip those details, and readers planning the same kind of trip search for exactly them.
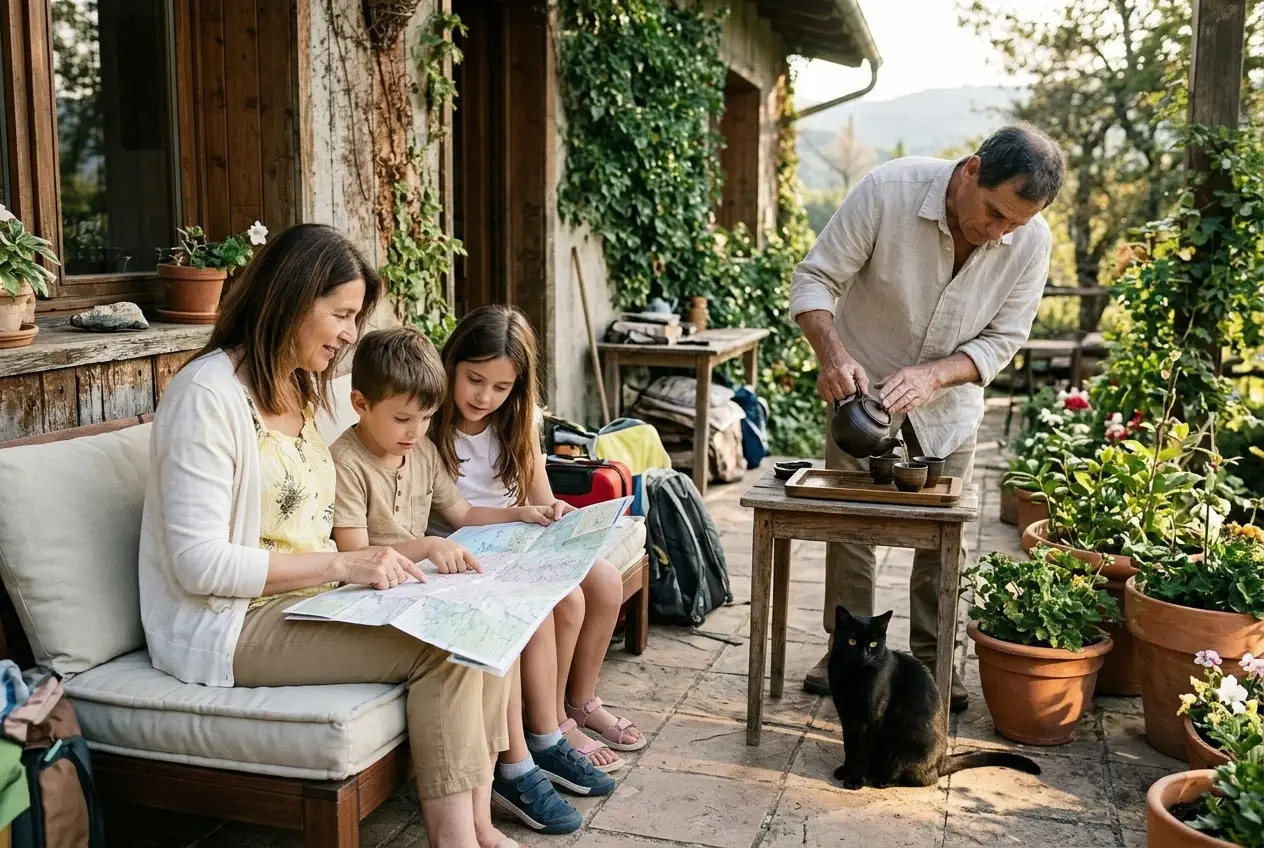
Three practical points make this a good fit:
- You already travel. Every trip you take is a source of posts, photos, and real costs. You do not need a separate project to create content.
- The entry cost is low. A domain name, hosting, and a phone camera are enough to start. You do not need a studio, inventory, or a team.
- Readers trust a peer. A reader who is 68 and worried about walking distances will believe someone in the same position over a generic listicle.
Earning is slow at first. A new site has no search history, so the first months are mostly about building a base of useful pages. Treat any income in that period as a bonus, and plan the site so it can grow over several years.
Pick a narrow focus from the trips you already take
A site called “Travel Tips” competes with every large publisher. A site with a specific reader in mind can be found by the people who need it. Your focus should come from the trips you have already taken, because that is where you can write with detail.
Start by listing the last several trips. For each one, note three things: who went (ages, mobility, how many generations), how you traveled (short stays, slow travel, long-term stays), and where. Patterns will show up. Perhaps most trips were multigenerational road trips, or month-long stays in one country, or flights where comfort was the main concern.

Then write the focus as one sentence naming the reader and the situation. These are examples of the form, not suggestions to copy:
- Slow travel for couples over 60 in one region.
- Family trips that work for grandparents, parents, and kids together.
- Long stays abroad: visas, housing, and daily routines for retirees.
A good test is whether you can list twenty post ideas from trips you have already taken, without researching anywhere you have not been. If you can, the focus is wide enough to sustain the site. If you struggle to reach ten, widen it a little. If the list runs past fifty, narrow it, since a tighter focus makes the site easier to understand for both readers and search engines.
Your focus also decides which income methods fit. A site about family destinations suits booking and tour links. A site about long stays suits insurance, housing, and remote-work gear. Choosing the focus first means the income plan follows naturally.
Set up your website with a small budget and no technical background
You do not need to code. A basic travel site is a handful of decisions, and you can finish the setup in a few sessions. Do them in this order:
- Choose a name and register the domain. Pick something short that you can say aloud and spell easily. Avoid putting a single country or year in it, so the site can grow with your travels.
- Get hosting and install WordPress. Most hosting platforms offer a guided WordPress install. Use one, and keep the default settings until you know why you would change them.
- Pick a free, fast theme. Choose a clean layout with large readable text, which suits an older readership well. Premium themes and paid plugins can wait until the site has readers.
- Create the core pages. You need an About page, a Contact page, a privacy policy, and an affiliate disclosure page. Readers and affiliate programs both expect them.
- Set up five or six categories. Base them on your focus, such as destinations, planning, budget, and gear. Keep the menu short so a first-time visitor sees what the site covers within seconds.
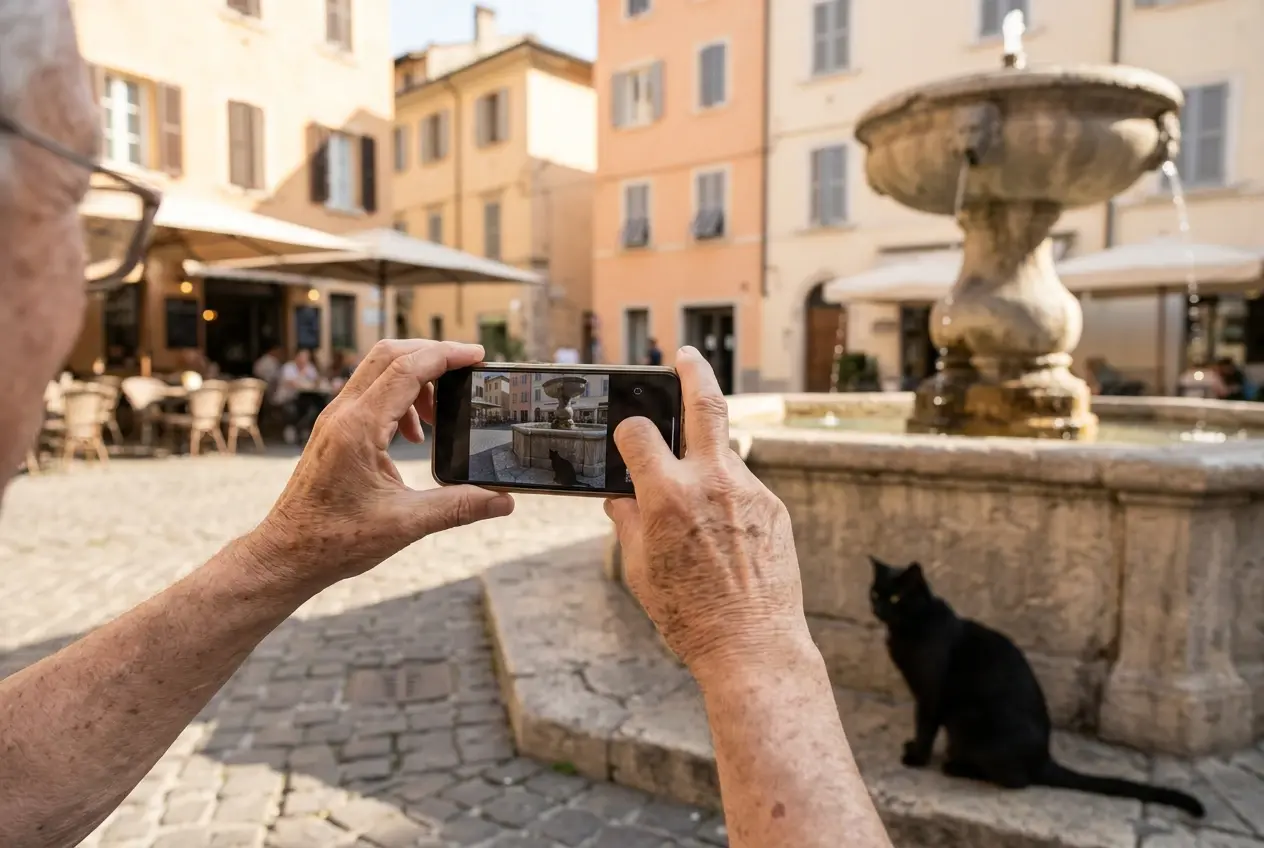
For photos, a recent phone camera is enough. Shoot in daylight, keep the horizon straight, and take a few wide shots and a few close-ups at every stop, because you will want both. Resize images before uploading so pages load quickly. Slow pages lose readers, especially those on hotel Wi-Fi or older devices.
Spend little at this stage. The costs that matter at the start are the domain and hosting. Everything else can be added once a post or two starts getting traffic.
Write the first ten posts that readers actually search for
The first ten posts do most of the work of making the site useful. Write them for questions people type into a search box, not for a diary of your trip. A diary entry tells readers what happened to you. A search-based post answers what they need to decide.
To find those questions, think back to what you searched for before your own trips. Type the start of a question into a search bar and read the suggestions that appear beneath it. Look at the “people also ask” boxes. Read comments under travel articles and forum threads, where readers ask about specifics the articles skipped.
A balanced first ten might include:
- Three or four destination or itinerary posts from trips you have taken, written with enough detail that a reader could copy the plan.
- Two or three planning posts on practical concerns, such as long flights, mobility, or traveling with several generations. My own post on major concerns for seniors during long plane flights is an example of this type.
- Two posts on costs: what a trip involved, with your real figures, so a reader can budget their own.
- One post on logistics specific to your focus, such as visas, housing, or choosing a base.
Each post should answer its question completely. State the answer near the top, then give the detail: how long, how far, what it costs, what to book ahead, what you would skip. Add your own observations in plain sentences, because specifics from a real trip are what separate your post from a generic one. Include a few photos that show the place as it is.
Link your posts to each other where a reader would naturally want the next step. A trip itinerary can link to the planning post that explains how to prepare for it. This helps readers move through the site and helps search engines understand how the pages relate.
Publish the posts as you finish them, without waiting for all ten. Early pages need time to be found, so the sooner they are live, the sooner that clock starts.
Add affiliate links and booking options the way readers will trust
Affiliate links are the most reliable first income for a travel blog. When a reader books through your link, the company pays you a commission and the reader pays the same price. Many hotel and flight booking sites, car rental companies, tour marketplaces, and travel insurance providers run affiliate programs. Terms differ between them, including commission rates, how long a click is tracked, and when payments are made, so read each program’s current terms before you join.
Reader trust decides whether any of this works. These habits protect it:
- Place links where a reader is making a decision. A link to a booking site fits at the point where you describe where you stayed. A link in an unrelated paragraph reads as an ad.
- Recommend only what you would use. If you have not used a service, either leave it out or say plainly that you have not tried it.
- Say what each option is good for. A comparison that explains which site suits which traveler is more useful than a list of logos, and it converts better because the reader understands the choice.
- Disclose clearly. Put a short note near the top of any post with affiliate links saying that you may earn a commission. In the United States the FTC expects clear disclosure, and many other countries have similar rules.
- Keep links current. Check old posts now and then. A link to a deal or page that no longer exists frustrates readers and earns nothing.
Older readers and families often want to compare booking options carefully before they commit, so a plain explanation of how the main booking sites differ is worth its own post. I wrote one on that, and it is linked at the end of this article.
Do not add links to every post from day one. Start with the pages that already get visitors and where booking is the natural next step, and add links to others as traffic grows.
Look at sponsorships once you have a steady audience
Sponsorships pay more per deal than affiliate links, but they depend on audience. Tourism boards, hotels, tour operators, and travel product companies want to reach readers, so they look for sites that have a defined audience and steady traffic. A new site with a few posts has little to offer them yet.
Steady usually means that traffic arrives regularly from search, that readers return or subscribe to an email list, and that your posts keep being found months after publishing. There is no fixed number to hit, so judge it by whether the trend is consistent rather than whether a single week was strong.
When you are ready, prepare a one-page summary of your site. Include who your readers are (ages, travel style, where they live, as far as your analytics show), your most visited pages, and the kinds of partnerships that fit. A site for multigenerational families is a clear match for family-friendly resorts, cruise lines, and attractions that cater to mixed ages. Being specific helps a sponsor see the fit quickly.
Keep a few rules once deals begin:
- Label sponsored content as sponsored, in plain words near the top of the post.
- Accept only offers that fit your readers. One mismatched sponsor can cost more trust than the payment is worth.
- Keep editorial control, including the right to say what did not work well.
- Agree on what you will deliver, by when, and what you will be paid, in writing before you start.
You can reach out to companies directly as well as wait for them to contact you. A short, specific message that names a post of yours and explains why your readers would care is more likely to get a reply than a general request.
Keep it sustainable: a posting rhythm you can hold while you travel
A site that publishes steadily for years does better than one that publishes daily for six weeks and stops. Choose a rhythm that fits your travel days, and make it smaller than you think you need. One post every week or two is enough for a site like this, provided each post answers a real question well.

Several habits make that rhythm easier on the road:
- Take notes while you are there. Details fade fast. Record prices, distances, opening times, and what surprised you the same day, using your phone’s notes app or voice memos.
- Sort photos at the end of each day. Delete the weak ones then, while you remember which shots matter.
- Write in batches. On a rest day, draft two or three posts and schedule them to publish across the following weeks. WordPress lets you set a future publish date.
- Keep a running list of post ideas. When a question comes up on a trip, such as how you got from the airport or where you found step-free access, add it to the list. These small questions often make the best posts.
- Update before you expand. Once a few months pass, revisit your earliest posts. Correct prices, add what you have learned, and refresh the photos. An updated post can do more than a new one.
Your own energy matters too. Plan low-output weeks around travel days, family visits, or rest, and let the schedule absorb them. If you are traveling long term, my post on getting real work done when you change countries every few weeks covers how to protect working time in a shifting routine.
Income will build slowly as posts age and gain traffic. Check your numbers monthly, not daily, and look at which posts bring visitors and which links get clicked. Then write more of what works.
Your next step
Pick one trip you have already taken and write your first post about it this week. Choose the question a reader planning the same trip would most want answered, and answer it with your own details. When you are ready to add booking links, read how I compare booking sites in How to Choose Between Kayak and Booking.com Travel.