Running a travel blog from a rental apartment, a train seat or a shared family table is mostly a software problem. The best blogging tools for digital nomad families keep working when the connection drops, let more than one person pitch in, and can be learned without a week of tutorials. This article goes through each part of the job, from hosting to affiliate links, and says what to look for and what to leave for later.
Laptops, cameras and chargers are covered in the gear post, so here I only mention hardware where a tool depends on it.
What I ask of a blogging tool before it earns a place in my routine
I judge every tool on three questions, and the first one rules out more tools than the others.
- Does it cope with slow Wi-Fi? A tool that needs a fast, steady connection to save a paragraph will fail in a guesthouse in the evening, when everyone else is online too.
- Can someone else in the family use it? If only one person understands the setup, the blog stops whenever that person is busy, tired or ill.
- Can a beginner learn the basics in an afternoon? Many readers of this site are starting something new later in life. A tool with a steep learning curve costs more than its price tag, because the time spent fighting it is time not spent writing.
A fourth question comes after those: what happens if I stop using it? Choose tools that let you export your words, photos and contacts. A tool that holds your work hostage makes the next move expensive.
Prices change often, so check the current cost of any paid tool on its own site before you commit.
Hosting and your website platform: where the blog actually lives
Two things make up the home of a blog. The host is the company that stores your site and serves it to visitors. The platform is the software you log into to write posts and change the layout. Many hosts bundle the two, which is convenient for a beginner.
Look for these in a host and platform:
- You own the content. You should be able to export every post and image and move to another host.
- Support that answers around the clock. When you move between time zones, a help desk that only answers during one country’s office hours is no help at 2 a.m. your time.
- A visual editor. Writing posts in a block or visual editor, with headings, images and links added from a menu, is far easier for a newcomer than editing code.
- An admin area that loads on a weak connection. Heavy dashboards full of add-ons can take minutes to open on a slow line. Choose a simple theme and install only the add-ons you need.
That last point also affects your readers. Many of them will open your posts on hotel Wi-Fi or mobile data, and a lean site loads faster for them as well.
Register your domain name yourself, in your own name, with automatic renewal switched on. Use an account email address you can always reach abroad. A domain that lapses while you are on a long flight is a very avoidable disaster.
Writing and editing when the Wi-Fi is bad and the day is full
Write your drafts in a tool that saves on your device first and syncs later. Before you rely on any writing app, switch your device to airplane mode, type a few lines, close the app, reopen it and check that the text is still there. Do this test at home, not on the day a deadline falls.
A few habits make writing on the road easier:

- Draft offline, publish online. Write in a plain document, then paste the finished text into your site when the connection is good. A co-working space or a library usually has a better line than a rented room, and the co-working space checklist covers what to check before you commit to one.
- Keep a post template. A short document with your usual headings, a place for the keyword and a reminder to add links and a disclosure saves thought when you are tired.
- Try dictation. Voice typing on a phone suits anyone who finds a small keyboard tiring, and it turns a walk or a train ride into a first draft. Expect to tidy the text afterward.
- Be careful with online-only grammar checkers. Many need a live connection. Use them as a final pass when you are online, and rely on your own read-through the rest of the time.
If your days shift with a family timetable, write in short blocks. A post built from four 30-minute sessions is still a post. The same principle runs through how to get real work done when you change countries every few weeks.
Handling photos and video without filling your storage
Photos are the largest files in a travel blog, and they cause most of its storage and speed problems. Camera originals are far bigger than a web page needs.
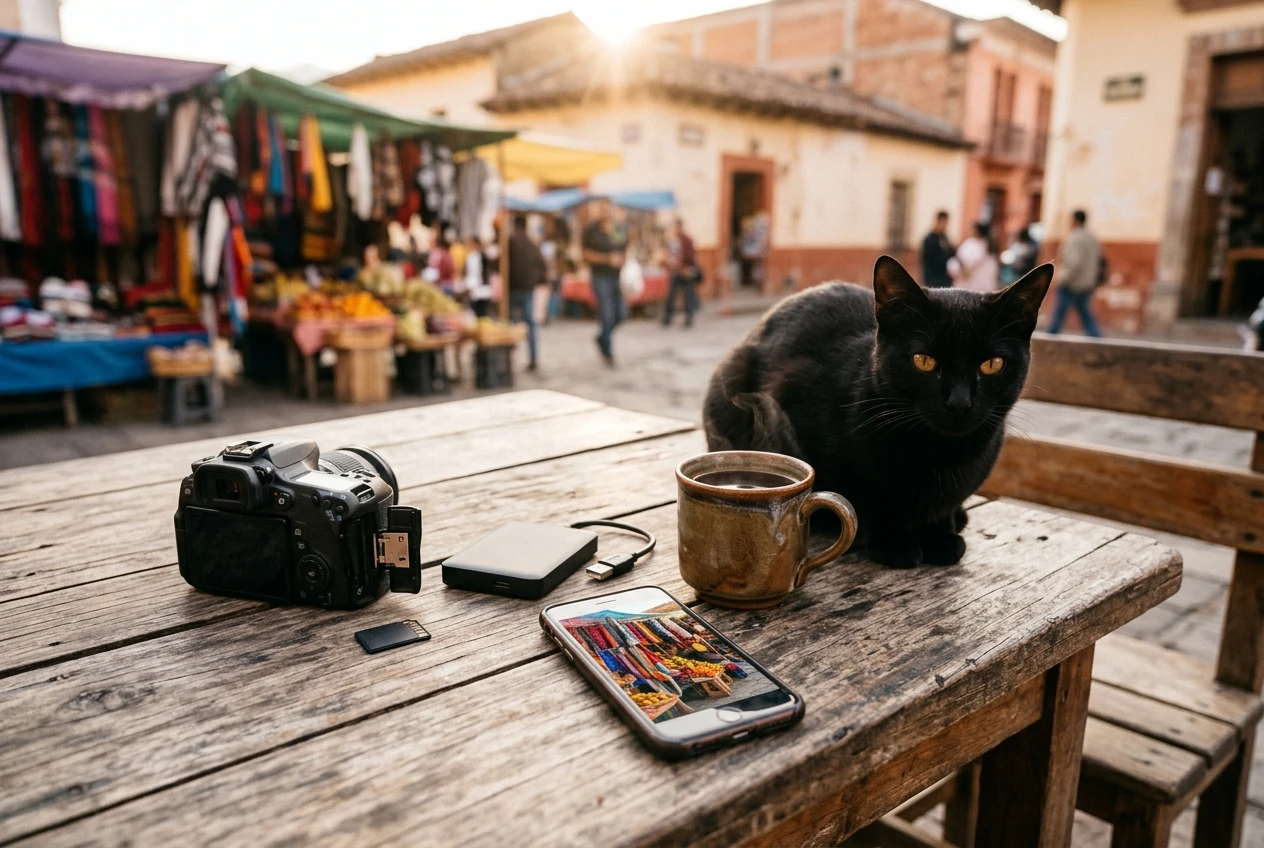
A workable routine looks like this:
- Copy originals off the camera or phone to an external drive or cloud folder as soon as you can.
- Pick the best few for each post. A post with eight strong photos reads better than one with forty.
- Resize and compress copies before uploading them to the blog. Many free image tools do this in one step, and many site platforms can also do it on upload.
- Name files in plain words, such as “market-stall-cusco”, and write a short description (alt text) for each image. It helps readers who use screen readers, and it tells search engines what the picture shows.
- Upload on a good connection. If the line is poor, queue the uploads for the evening or for the next co-working day.
Cloud photo backups can eat through a mobile data plan quickly. Set them to sync only on Wi-Fi, and check the setting after every phone update.
For video, upload to a video-sharing platform and embed the clip in your post, rather than storing it on your own hosting. Your site stays fast and your hosting storage lasts longer. Keep the full-quality original on your external drive.
Keeping your work safe: backups, passwords and a plan for a lost device
A blog is easy to lose in a single bad day: a stolen bag, a dropped phone, a hacked password. Setting up protection takes a couple of hours, and it is best done before the trip.
Backups. The common rule is three copies of your work, on two kinds of storage, with one copy in a different place. For a travel blog that could be the working copy on your laptop, a copy on an external drive, and a copy in cloud storage. Also check whether your host makes automatic site backups and how long it keeps them. A second, separate backup of the site is worth having.
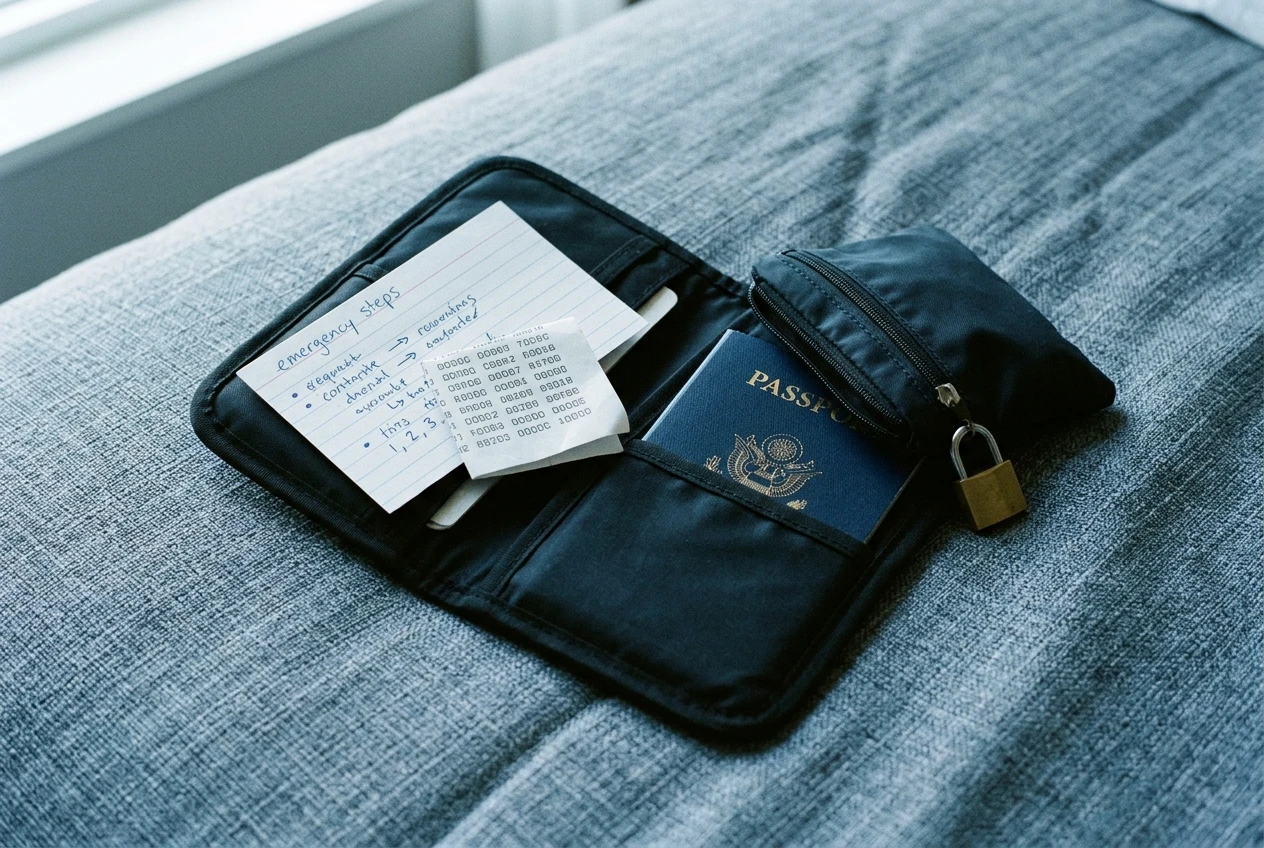
Passwords. Use a password manager so that every account has a long, different password and you only remember one. Switch on two-factor authentication for your email, host, domain account and affiliate accounts. Email matters most, because anyone who controls it can reset the rest.
Recovery codes. Two-factor tools give you backup codes. Print them or write them down and keep them somewhere other than the device that holds the authenticator app.
A lost-device plan. Write down, in a short document, what to do if a phone or laptop disappears:
- Lock or erase the device remotely.
- Change the email and password manager passwords first.
- Sign out of all sessions on the host and platform.
- Restore from your backup on a replacement.
Give one trusted family member a copy of this plan and the way to reach your emergency access settings. This one step helps most when you are the person who is unreachable.
Tools for affiliate links and booking recommendations that readers can trust
Affiliate income depends on readers believing your recommendations, so the tools here should make honesty easy.
- Use each program’s official link tools. They create tracked links that the program can attribute to you. A link copied from a search result earns nothing.
- Keep one master list of links. A simple spreadsheet with the program, the page it points to, the posts it appears in and the date you last checked it is enough. Offers and pages change, and a dead link loses both income and reader goodwill.
- Disclose clearly. Put a plain note near the top of any post that contains affiliate links or sponsored content, saying that you may earn a commission. Many countries have rules about this, so check the ones that apply to you.
- Skip quoted prices. Room rates and fares change daily. Describe what a place offers and send readers to the booking page for the current price.
- Recommend what you can stand behind. Write about places, tours and services that you or your family have used or that you have researched properly, and say which is which.
When two booking sites compete for the same trip, a comparison post is useful to readers. My post on how to choose between Kayak and Booking.com is an example of the kind.
For reporting, start with the dashboards inside each affiliate program. They show clicks and earnings per link, which tells you which posts to expand. For sponsorships, keep every agreement and email in one shared folder so deliverables and dates are easy to find.
Letting family members help: sharing tasks across generations
A travel blog run by a family has more hands than a solo blog, and the tools should let those hands work without getting in each other’s way.
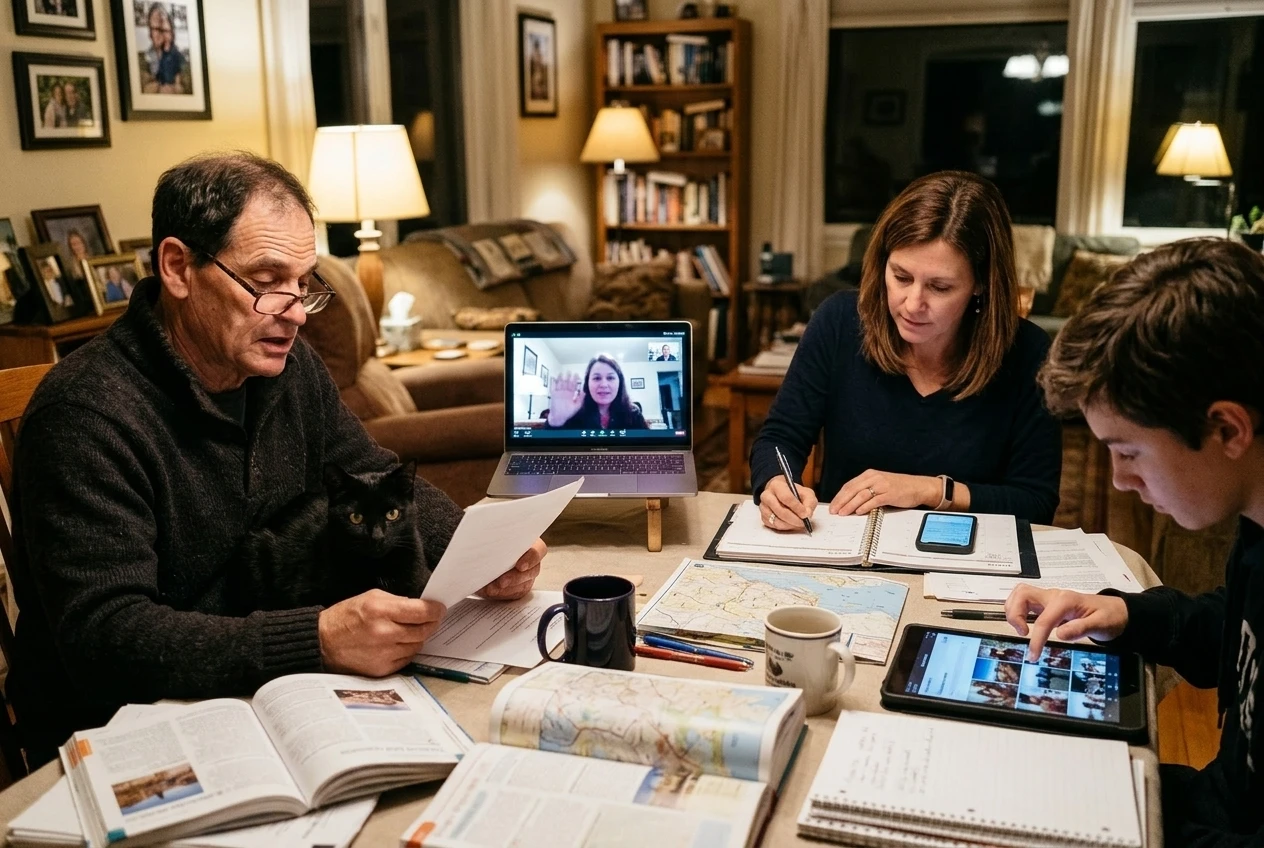
- Give each person their own login. Most platforms let you add users with limited roles, such as an author who can draft but not publish. Sharing one password puts every account at risk if it leaks.
- Use one shared calendar. Put post deadlines, travel days and call times in the same calendar the family already uses for flights and bookings.
- Divide jobs by strength. One person writes the stories, another picks and resizes photos, another proofreads, and another checks affiliate links each month. Grandparents often have the best stories and the best eye for errors, and younger family members are often quick with photo editing and social posts.
- Keep a shared to-do list. A simple list with a name against each task shows at a glance what is waiting, which matters when people are in different time zones.
- Set a weekly check-in. Fifteen minutes by video call to agree what is publishing next is enough.
A shared document for the editorial plan, kept in one place, avoids the confusion of ideas scattered over text messages.
What I’d skip until the blog is a few months old
New bloggers are often tempted to buy their way into progress. Most of the following can wait until you are publishing regularly and know what you actually need:
- Paid email marketing platforms. A free tier, or nothing yet, is fine until readers ask to hear from you.
- Large search-optimization suites. Writing clear posts about real places, with a sensible keyword, does more at the start than a dashboard of metrics.
- Several social media accounts. One account, kept up, beats five that go quiet.
- Premium themes and design add-ons. A clean, simple, fast layout is enough. Every extra add-on slows the site and adds something to maintain.
- Expensive courses and bundles. Finish a handful of posts first, so you know what you need to learn.
- Complicated analytics. The basic traffic and affiliate reports tell you what you need for now.
A small set of tools that the whole family understands will carry the blog further than a long list of tools no one has time to learn.
If you haven’t started yet, read how I began a travel blog later in life and how it can earn money.